source: http://www.saltworks.us/gardening-with-epsom-salt.asp?gclid=CJrr_YeY2sYCFUkljgod3EcP4g#why
Gardening with Epsom Salt

Epsom salt is a popular and well-reputed supplement in organic gardening. With the recent push towards “green” living, Epsom salt is an ideal answer to a variety of organic gardening needs. Both cost effective and gentle on your greenery, Epsom salt is an affordable and green treatment for your well-tended plants—both indoors and out.
Completely one-of-a-kind with a chemical structure unlike any other, Epsom salt (or Magnesium Sulfate) is one of the most economic and versatile salt-like substances in the world. Throughout time, Epsom salt has been known as a wonderful garden supplement, helping to create lush grass, full roses, and healthy, vibrant greenery. It has long been considered a planter’s “secret” ingredient to a lovely, lush garden, and is such a simple, affordable way to have a dramatic impact. Just as gourmet salt works with the ingredients in food to enhance and bring a meal to its full potential, Epsom salt enhances fertilizer and soil’s capabilities to bring a deeper level of vitality to your garden’s composition. Ultra Epsom Salt is the highest quality Epsom salt available, and is widely celebrated for its powerful benefits on natural life, ranging from household plants to shrubs, lawns and even trees.
Table of Contents:
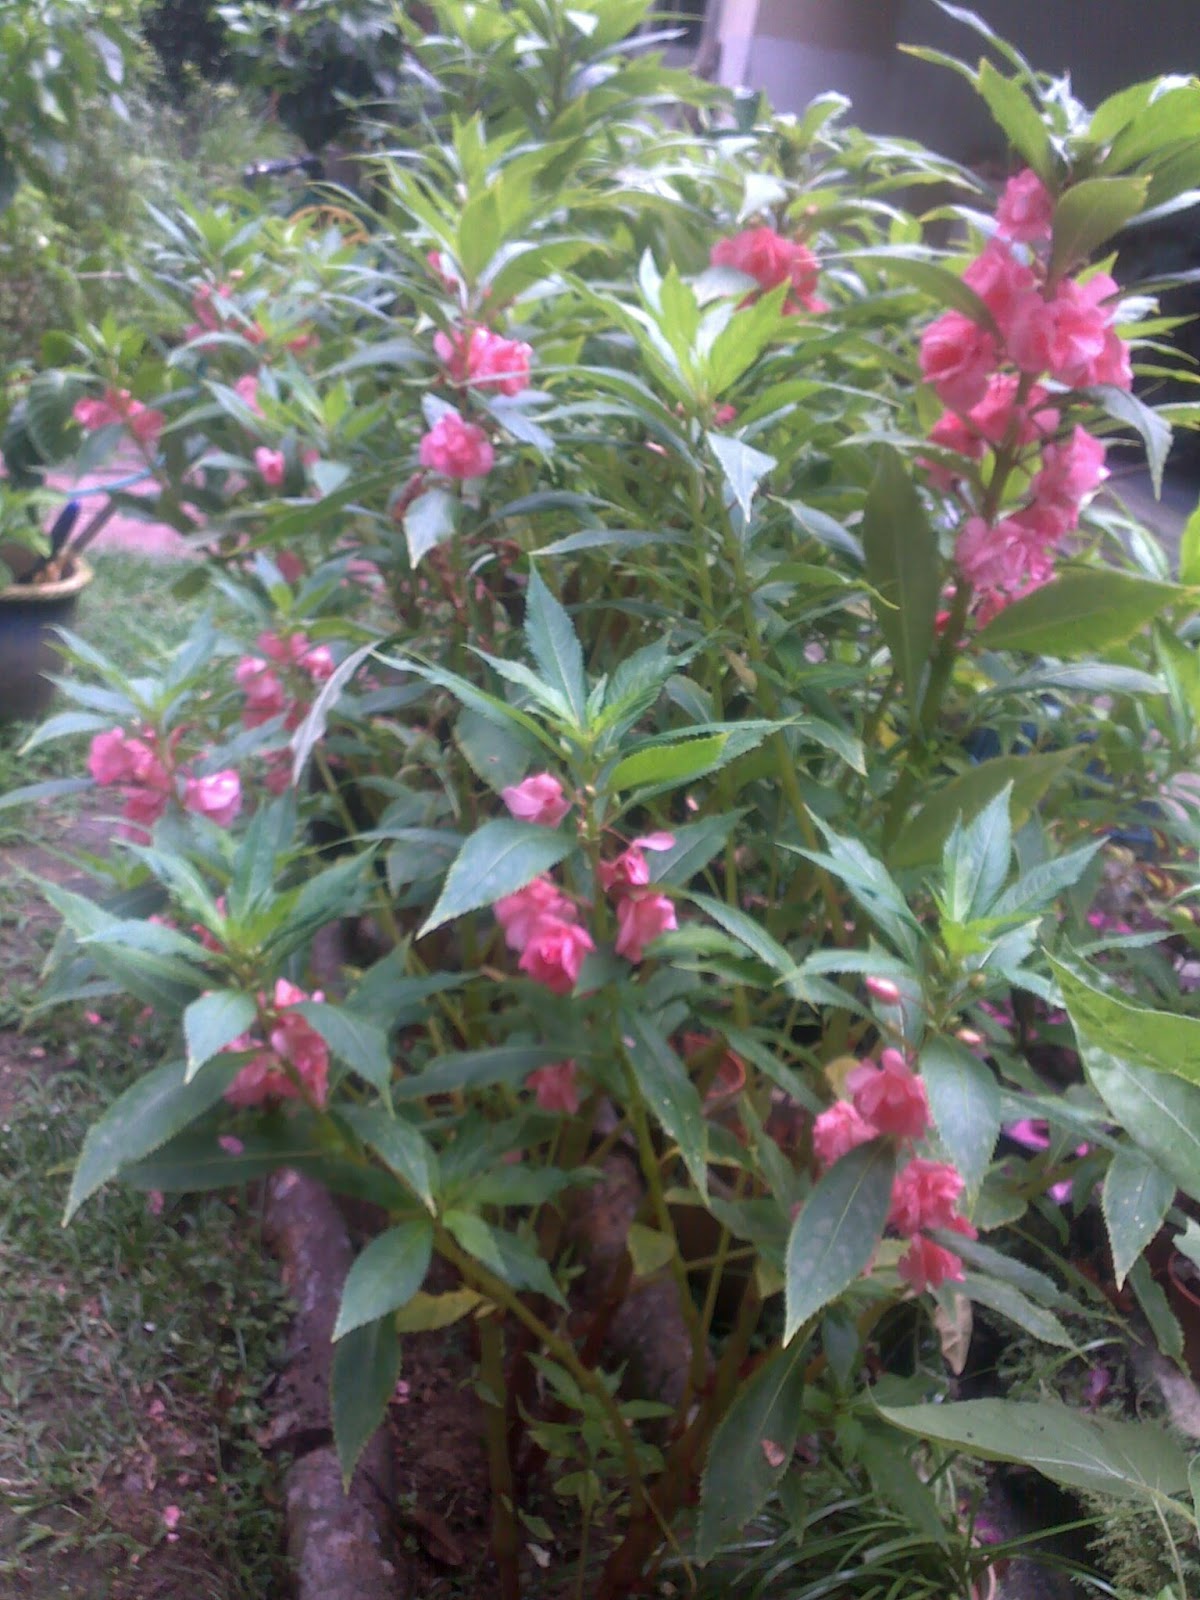
- • Flower Gardens & Epsom Salt
- - Roses & Epsom Salt
- - Shrubs & Epsom Salt
- • Lawn Care & Epsom Salt
- • Trees & Epsom Salt
Why Epsom Salt Works in the Garden
 |
 |
Please note that not all Epsom salts are created equal. When using Epsom salt in gardening, it is strongly recommended that the highest quality Epsom salt available is utilized.
|
Composed almost exclusively of Magnesium Sulfate, Epsom salt is intensely rich in these two minerals that are both crucial to healthy plant life. These same minerals which are so beneficial for bathing and using around the house are also a wonderful facilitator to your garden, helping it reach its fullest potential and creating a lush and vibrant outdoor space. Unlike common fertilizers, Epsom Salt does not build up in the soil over time, so it is very safe to use.
MAGNESIUM
Magnesium is beneficial to plants from the beginning of their life, right when the seed begins to develop. It assists with the process of seed germination; infusing the seed with this important mineral and helping to strengthen the plant cell walls, so that the plant can receive essential nutrients. Magnesium also plays a crucial role in photosynthesis by assisting with the creation of chlorophyll, used by plants to convert sunlight into food. In addition, it is a wonderful help in allowing the plant to soak up phosphorus and nitrogen, which serve as vital fertilizer components for the soil. Magnesium is believed to bring more flowers and fruit to your garden, increasing the bounty as well as the beauty of your space.
SULFATE
Sulfate, a mineral form of sulfur found in nature, is an equally important nutrient for plant life. Sulfate is essential to the health and longevity of plants, and aides in the production of chlorophyll. It joins with the soil to make key nutrients more effective for plants, including nitrogen, phosphorus and potassium. Sulfate works in conjunction with Magnesium to create a “vitamin” full of minerals, nourishment and health benefits for your garden.
How to Use Epsom Salt in the Garden
EPSOM SALT FOR HOUSEPLANTS

Perhaps the most natural and easiest place to start with Ultra Epsom Salt is with the potted plants that are dispersed around your house and porch. Epsom salt is such a simple way to increase their blooming and health, and is something that you can include easily as a part of a normal routine.For potted plants, simply dissolve 2 tablespoons per gallon of water, and substitute this solution for normal watering at least once a month – although it is safe to do this as often as desired.
Adding this Epsom salt solution to houseplants that have been potted for a long time is especially useful, due in part to natural salt, which can build up in the soil and clog the root cells of the plant. Ultra Epsom Salt can help to clear up this accumulation of natural salts in the pot, and lead to a revival in the plant's health and vibrancy. It is also useful for a plant that has just been potted, as it will more easily receive the proper nutrients and have a healthy start in life. As general guidance, most plants need plenty of sun to receive the benefits of Ultra Epsom Salt (and photosynthesize), so be sure to keep typical houseplants in a sunny area of the home unless instructed otherwise. Using Ultra Epsom Salt with potted vegetable plants is a really wonderful idea as well, because it can increase the amount of fruit or vegetables you receive from the one plant. This is particularly beneficial to apartment dwellers and those with little or no personal yard space, as Ultra Epsom Salt can help you receive a large bounty within a confined space. A wonderful way to easily and effectively grow food!

FIRST PLANTING WITH EPSOM SALT
For setting up your garden and the initial planting stage, Ultra Epsom Salt is especially useful for getting a nourishing start. Prep your garden soil by sprinkling up to 1 cup of Ultra Epsom Salt per 100 square feet, and then work it into the soil before seeding or planting. This helps the seeds to germinate better, and start with a strong and healthy growth. It is also very beneficial for more mature plants that you are going to add to your garden, since the transition can be difficult for their growth and health.
VEGETABLE GARDENS & EPSOM SALT
For maintaining and creating a vegetable garden, Epsom salt can help you refresh and revitalize the garden you have already created—or create a healthy beginning to a new space. Ultra Epsom Salt is advised for use with all fruits, vegetables, and herbs (It is not advisable to use Epsom salt with the planting of sage—it is not beneficial for this particular plant). As previously mentioned, it does not cause build-up or any harm to plants when used, and so can be used safely and effectively during any stage of the plant’s life. For general purposes, Ultra Epsom Salt works well as a saline solution for a tank sprayer.Simply fill your tank sprayer (commonly available at gardening and home improvement stores) with 1 tablespoon of Ultra Epsom Salt per gallon of water. Then spray your garden after the initial planting, later when it begins to grow (or after a month or so for transplants), and lastly when the vegetables begin to mature. It is believed that this practice will give you healthier vegetables, and a lush vegetable garden.
The advice above is wonderful for any vegetable or herb, but we do have additional advice for some varieties and situations:

Tomatoes & Epsom Salt
Tomatoes are prone to magnesium deficiency later in the growing season, and display this through yellow leaves and less production. They can greatly benefit from Ultra Epsom Salt treatments both at the beginning of their planting and throughout their seasonal life. When gardening, simply add one or two tablespoons per hole before planting the seeds or transplants. Then as the tomato matures, either work in one tablespoon of Ultra Epsom Salt per foot of plant height around the base of the tomato plant (individually), or create the tank sprayer solution mentioned above and use that every two weeks.

Peppers & Epsom Salt
Like tomatoes, peppers are also prone to magnesium deficiency and thrive much more fully with the use of Epsom salt. This can be done in the same way as tomatoes—through adding one or two tablespoons per hole before planting (for seeds and grown plants), and then twice a week based on the height of the plant (see above). A study conducted by the National Gardening Association discovered that four out of six home gardeners noticed that their Epsom salt-treated peppers were larger than those that were un-treated. Many gardeners credit their healthy, vibrant peppers and tomatoes to Epsom salt. This solution truly aides in the production level, aesthetic beauty and quality of the harvest produced.
FLOWER GARDENS & EPSOM SALT

Like vegetable gardens, flower gardens also blossom more vibrantly and beautifully with the use of Ultra Epsom Salt in the soil and as a liquid solution. Epsom salt helps your garden to become the calming, serene environment you have been envisioning, and will increase the beauty of your home and landscape as well. To use, follow the guidelines outlined in the First Plantingsection for both brand new seedlings and more mature plants. Next, using a tank sprayer, fill with a liquid solution containing one tablespoon of Ultra Epsom Salt per gallon of water. This solution can be used as much as desired during the gardening season; but definitely after the initial planting, then later when you see growth (or after a month or so for transplants), and finally when they have received full bloom. If you don’t have a tank sprayer, you can always create this solution in a watering can using the ratio of 1 tablespoon Ultra Epsom Salt to 1 gallon of water.
Roses and flower bushes have some additional tips concerning the use of Epsom salt:
Roses & Epsom Salt
Roses in particular can greatly benefit from Epsom salt, and it is said to make foliage greener, healthier and lead to more canes and roses. Start by soaking unplanted rose bushes in one half cup of Ultra Epsom Salt per gallon of water before planting, to help the roots get stronger and firmer. Then, when planting, add one tablespoon of Ultra Epsom Salt per hole before inserting the rose bush. After the roses are planted (and to boost already planted roses), make the liquid Ultra Epsom Salt solution listed above for either a tank sprayer or watering can, or simply work in one tablespoon of Ultra Epsom Salt per foot of plant (individually). Once during the beginning of the season, it is also advised to work one half cup of Ultra Epsom Salt into the base of the plant to encourage blooming canes and healthy basal cane development.
Shrubs & Epsom Salt
For flowering and green shrubs, particularly evergreens, azaleas and rhododendrons, Epsom salt can improve the blooming of the flowers and the vibrancy of the greenery. Simply work in one tablespoon of Ultra Epsom Salt per nine square feet of bush into the soil, over the root zone, which allows the shrubs to absorb the nutritional benefits. Repeat this every two to four weeks for optimal results.

LAWN CARE & EPSOM SALT
Just as Ultra Epsom Salt can revitalize your garden, so does it improve the greenery and sustainability of your lawn. Epsom salt is particularly useful for preventing a yellowing lawn and creating lusher, softer, deeply green grass. It can be applied using a tank sprayer (which can also be used on your flower and vegetable gardens), a lawn spreader, and by using a hose and spray attachment. Use three pounds per 1250 square feet (25’ x 50’), six pounds per 2500 square feet (50’ x 50’), and twelve pounds per 5000 square feet (50’ x 100’). If using a tank sprayer or a hose and spray attachment, make sure to dilute the salt in plenty of water (enough to make it dissolve), so that it is a concentrated solution.

TREES & EPSOM SALT
Trees, the largest and longest standing part of your garden, can also benefit from Epsom salt by allowing more minerals to be absorbed through the roots, giving you strong healthy trees to enjoy for years to come. If your trees bloom or produce fruit,Ultra Epsom Salt can be particularly useful due to its ability to increase the production of both flowers and bounty. Simply work in two tablespoons per nine square feet into the soil over the root zone three or four times a year. Planning to complete this at the beginning of each season is particularly helpful for preparing the tree for the change in weather, and allowing them to become stronger and healthier.